
In this post we're going to go through the setup process for the Imagify plugin step by step. We're going to assume that you already know how to install a WordPress plugin from the WordPress plugin repository.
Here, we've just activated Imagify and we immediately see this notification:
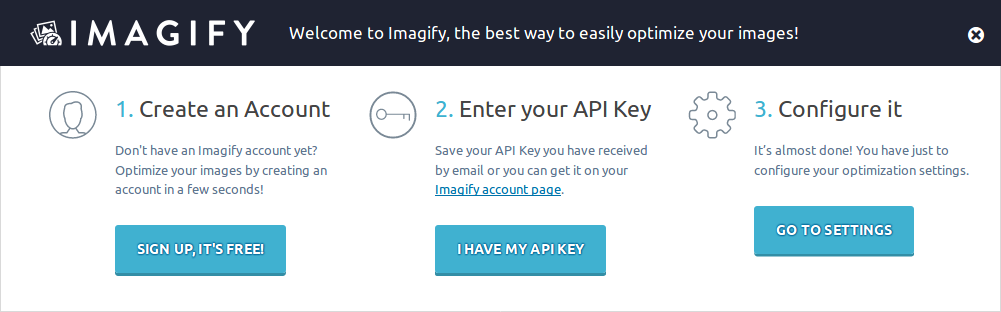
1. Create an Account
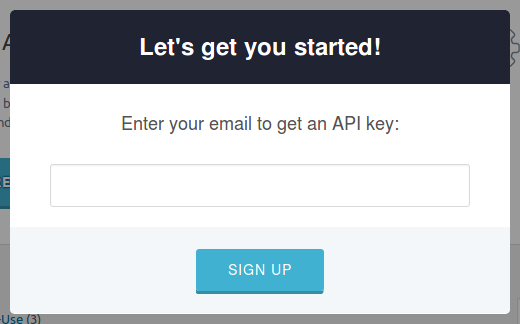
We'll start by clicking the SIGN UP, IT'S FREE! button. We will then see a popup box where we can enter our email address to sign up.
After entering our email address, we get this response:
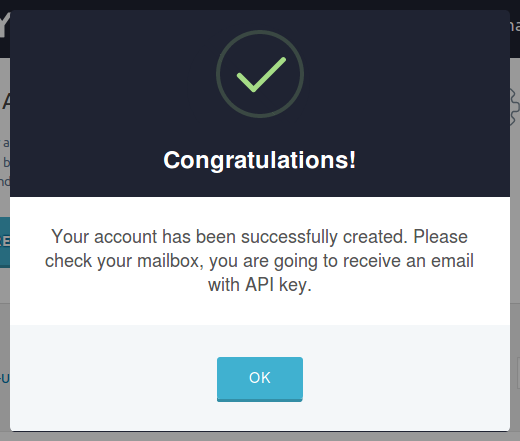
Now if we check out email we should find our login details for the Imagify website. After clicking on the activation link and logging in, we've made it to the Imagify control panel.

2. Enter Your API Key
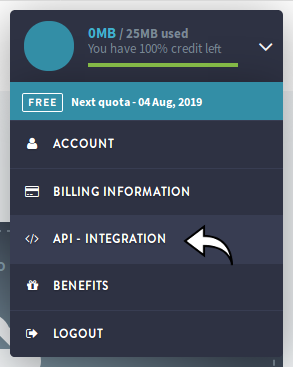
The API key we need was included in the activation email we received. The API can also be found by hovering over our account details an notifications area in top right corner of the Imagify dashboard and then clicking API - Integration.
After we've copied the API key, we can go back to our original page with the Imagify notification and click the I HAVE MY API KEY button. This brings up a box with and input for adding our API key.

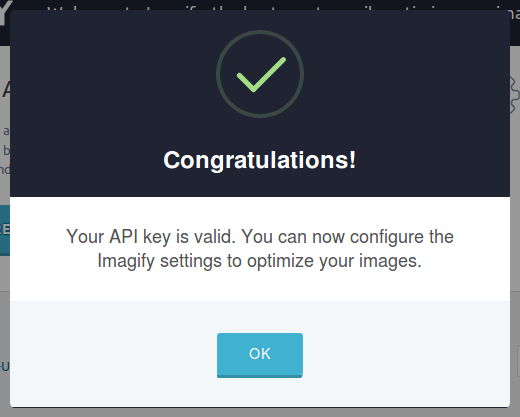
If we've entered out API keys properly, we should see a note saying "Congratulations! Your API key is valid. You can now configure the Imagify settings to optimize your images."
3. Configure It
Clicking the third button, labelled Go to Settings brings us to the Imagify dashboard. (This page is also available from the Settings > Imagify link in the WordPress admin menu.)
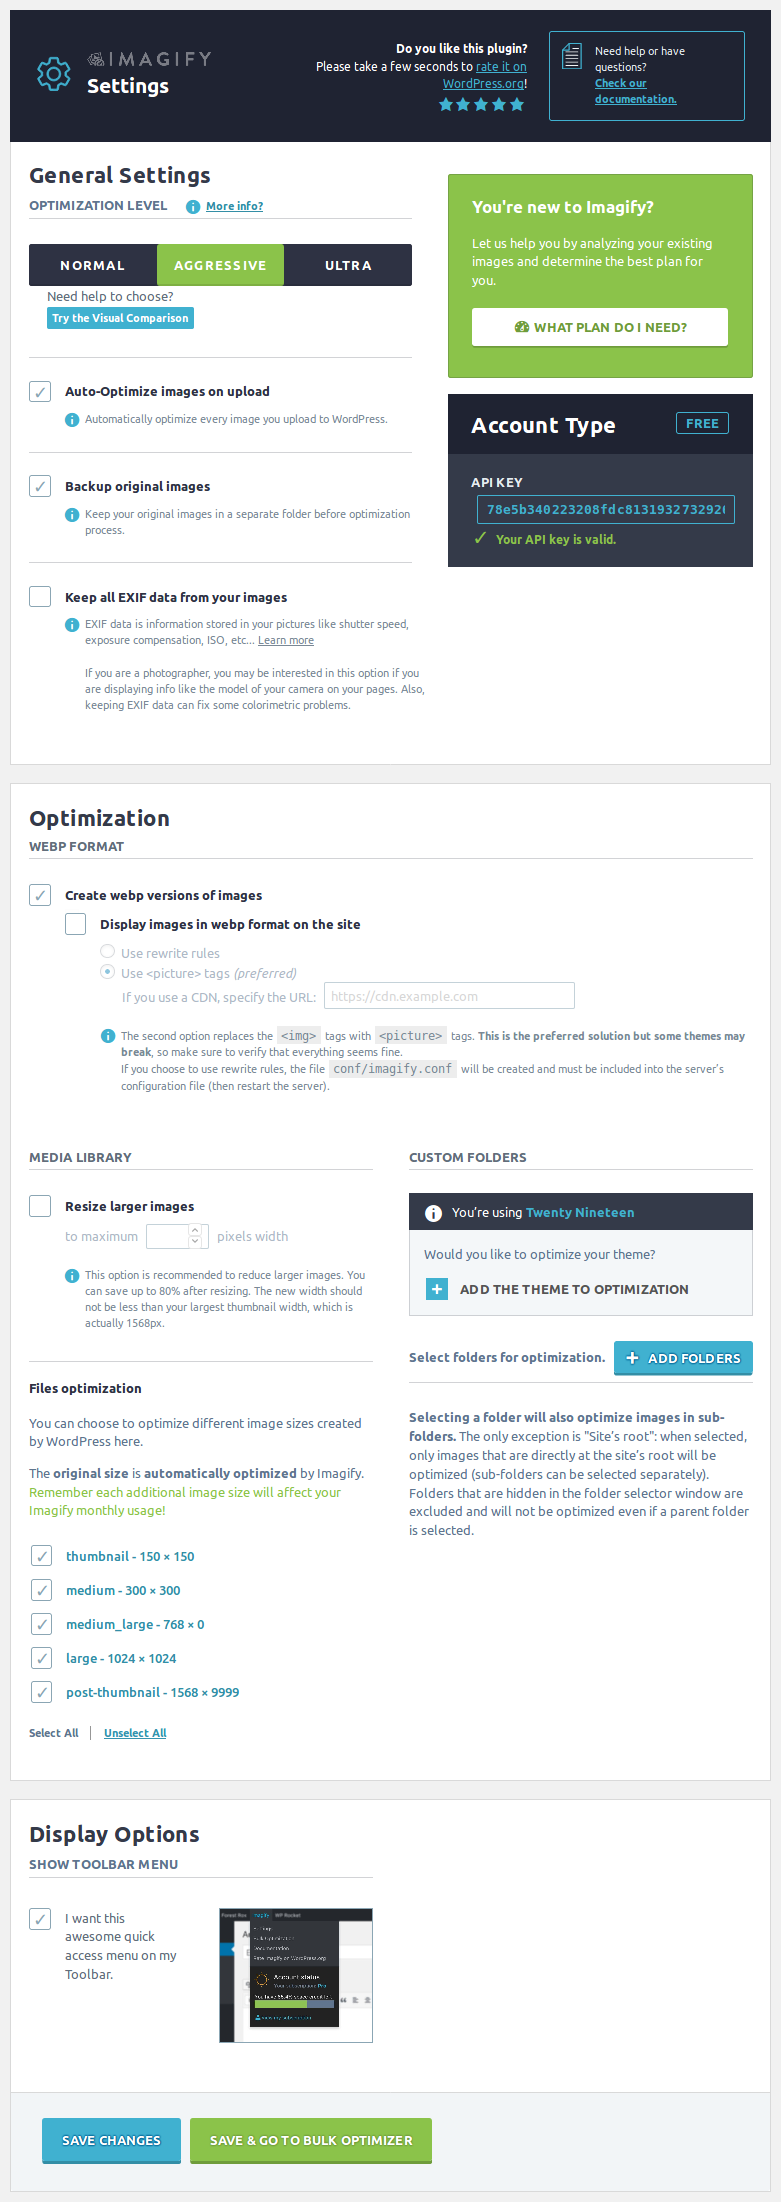
For the purposes of this tutorial, we're going to accept the defaults for most of the settings. However, we will take a quick look at the optimization levels available.
Normal
This mode provides lossless optimization, your images will be optimized without any visible change.
If you want the perfect quality for your images, we recommend you that mode.
Please Note: the file size reduction will be less, compared to aggressive mode.
Aggressive
This mode provides perfect optimization of your images without any significant quality loss.
This will provide a drastic savings on the initial weight, with a small reduction in image quality. Most of the time it's not even noticeable.
If you want the maximum weight reduction, we recommend using this mode.
Ultra
This mode will apply all available optimizations for maximum image compression.
This will provide a huge savings on the initial weight. Sometimes the image quality could be degraded a little.
If you want the maximum weight reduction, and you agree to lose some quality on the images we recommend using this mode.
I can't tell you which option to choose for your site. Imagify recommends the Aggressive setting. It's not lossless, but it's rarely noticeable and provides significant file size reduction.
4. Run It
Finally we'll click on the Save & Go to Bulk Optimizer at the bottom of the setting page (or follow the Media > Bulk Optimization link in the WordPress admin menu). This page shows an overview of all the optimization that has happened on our site. However, it's not very useful at this point because we haven't optimized anything yet. Let's change that by clicking the Imagif'm All button at the bottom of the page.
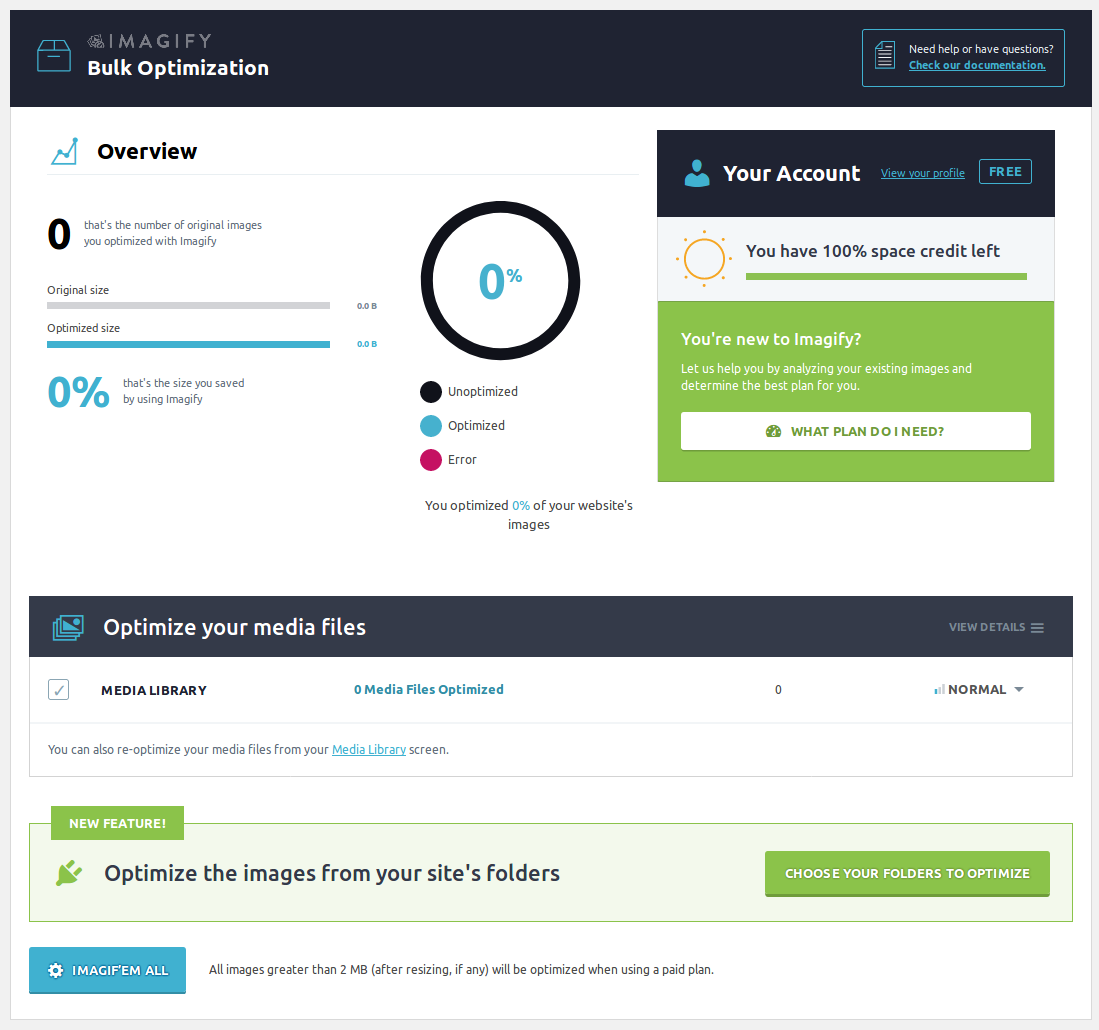
We will then be presented with a popup letting us know that this process can take a while and we should keep the window open until it's done processing. After acknowledging that, we just have to wait while Imagify does it's magic.